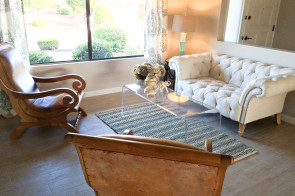
Before I move on to the kitchen post on the flip house, I wanted to share a quick DIY on how I made the marble artwork in the living room I hung over the sofa.

I came up with this marble artwork DIY last year for my daughter’s house. Here is a crappy cell phone pic I took when they were sitting in my office, she eventually took them home and hung them above her nightstands in her master bedroom.

I framed her marble artwork in gold frames

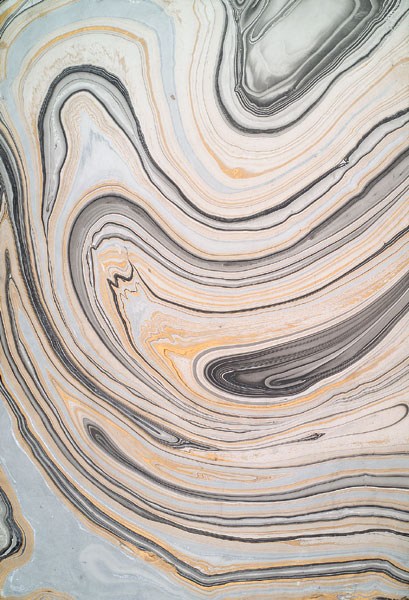
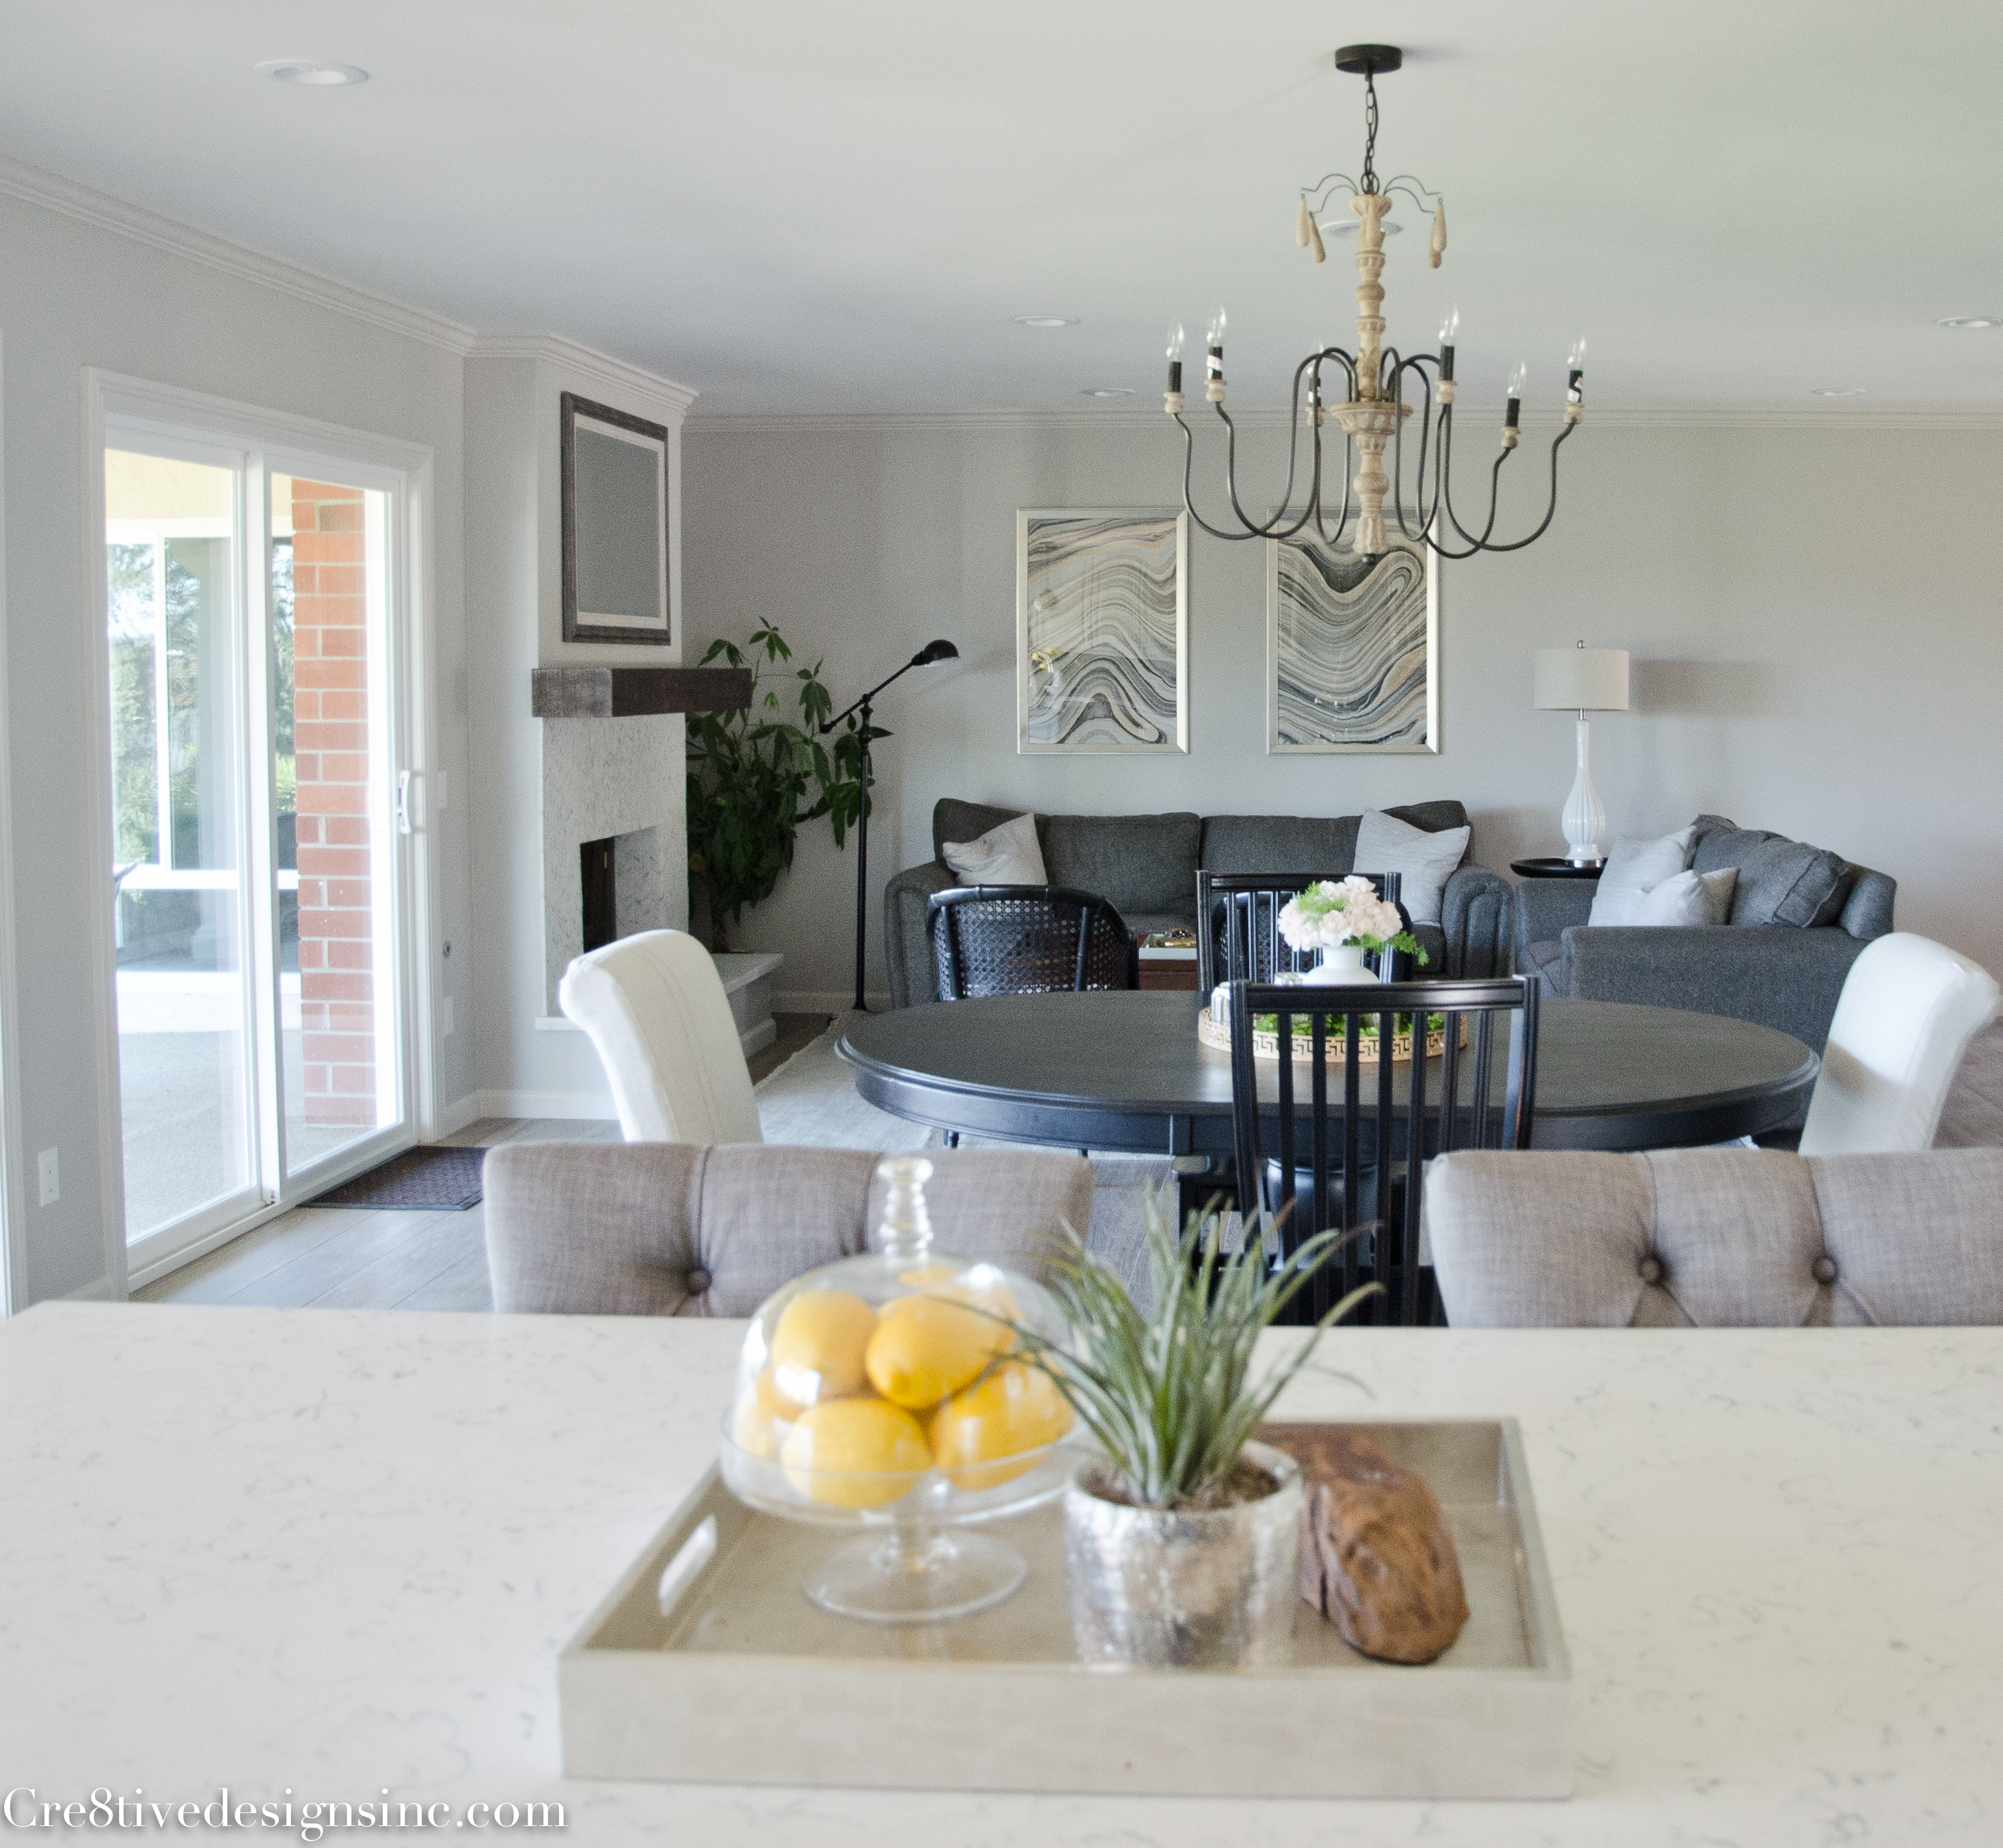
Since I had two of the papers left over from my daughter’s project, {I bought extra in case I messed up} and I needed inexpensive large artwork, I decided this DIY marble artwork would be a perfect fit for the living room. And I was right, because once I hung them on the wall, everyone kept complimenting what beautiful artwork they were. The best part is that they are so easy to make! I of course didn’t take any pictures when I was frantically putting them together, but here is my written version on how I made them. It honestly took me a total of 15 minutes to do both of them. It’s that easy.
DIY marble artwork
Where to get the marble paper and frames
I purchased the paper from Dick Blicks here in San Diego, but you can buy them from their store online here. They are called “Black Ink Thai Marbled Mulberry Papers” They are 24′ x 36″, and come in a variety of colors, and run about $6 each. No two patterns are exactly the same because they are handmade, but that is what is cool about them.
I purchased two, 24″ x 36″, silver painted frames from Aaron Brothers. I waited for their by one get one for 1-cent sale. The frames were $69.99 each, so for $70 I got two large frames. Add in the cost of the paper, $6 each, and the total cost is $82 for two big statement pieces of art. Pretty darn affordable.

How to mount the marble paper
I wouldn’t say I am a lazy DIY’er, but I do like to find the easiest route when it comes to DIYing. So with that said, I’ll tell you how I mounted the marble paper to fit in the frame. All I did was take the paper insert that comes inside the frame, {you know the one they display in the frame with the fake family on it?} and turned it over to the white side, and used it to mount the marble paper on. I sprayed the white paper with spray adhesive, re-positional spray adhesive works the best, and let the glue set for a couple of minutes. It is important to let the glue set, otherwise it will be too wet and soak through to the marble paper. I then folded over the marble paper on to itself, {not bending it to make a crease though} and lined up the top edge of the marble paper to the top edge of the white paper. Then I slowly, very very slowly, rolled the marble paper on to the white insert paper. The trick to getting the paper to lay smooth, is to roll out the marble paper on to the white paper a little at a time. I did about 1/4 of the paper at a time, smoothing out the bubbles as I went with my hand. It’s a little tricky, and requires patience, so don’t rush it too much. The paper is pretty thin, so be gentle if you have to pull it off the paper to re-position it. Don’t expect perfection on the way it lays, you will get areas that will want to lay funky, and you just have to go with it, and smooth it out as best as you can. Once it is in the frame, you don’t even notice those spots, trust me.
Putting the marble artwork in the frame
Once the marble paper was adhered, I just laid the marble paper that I attached to the white insert paper face down into the frame glass. Then put the hard backing piece on top of the paper and closed up the million clips to secure the back. And that is it. Easy, inexpensive and fast.

So what do you think of my marble artwork? You game to try it yourself?


Beautiful. I just recently did some that look very similar. Love these.
Oh I LOVE your marble artwork! I just saw them on IG. I like the idea of how you repurposed old frames to make yours. Smart lady, and cost savings too!
☺️ thank you.
Wow! That looks wonderful! Thank you for sharing!