I recently made a blue tufted headboard as a house warming gift for my niece Lindsay and her husband. I started with this headboard I found for $80 thrifting.

I loved the beefiness of the wood which made it more masculine, but I knew I could tuft the inside for the feminine look Lindsay wanted. The only thing I wasn’t fond of was the trim pieces on the posts. It looked a little too mission style to me, which isn’t their style. Here is a better view of the trim pieces I am talking about

So I decided to pry the trim pieces off. Well that opened a whole new can of worms! The trim pieces were glued and stapled to the posts, and when I pried them off, it took chunks of wood off the posts. I needed to fill the gapping holes in the posts, so I used car bondo. It’s the pink stuff you see all over the headboard in this picture
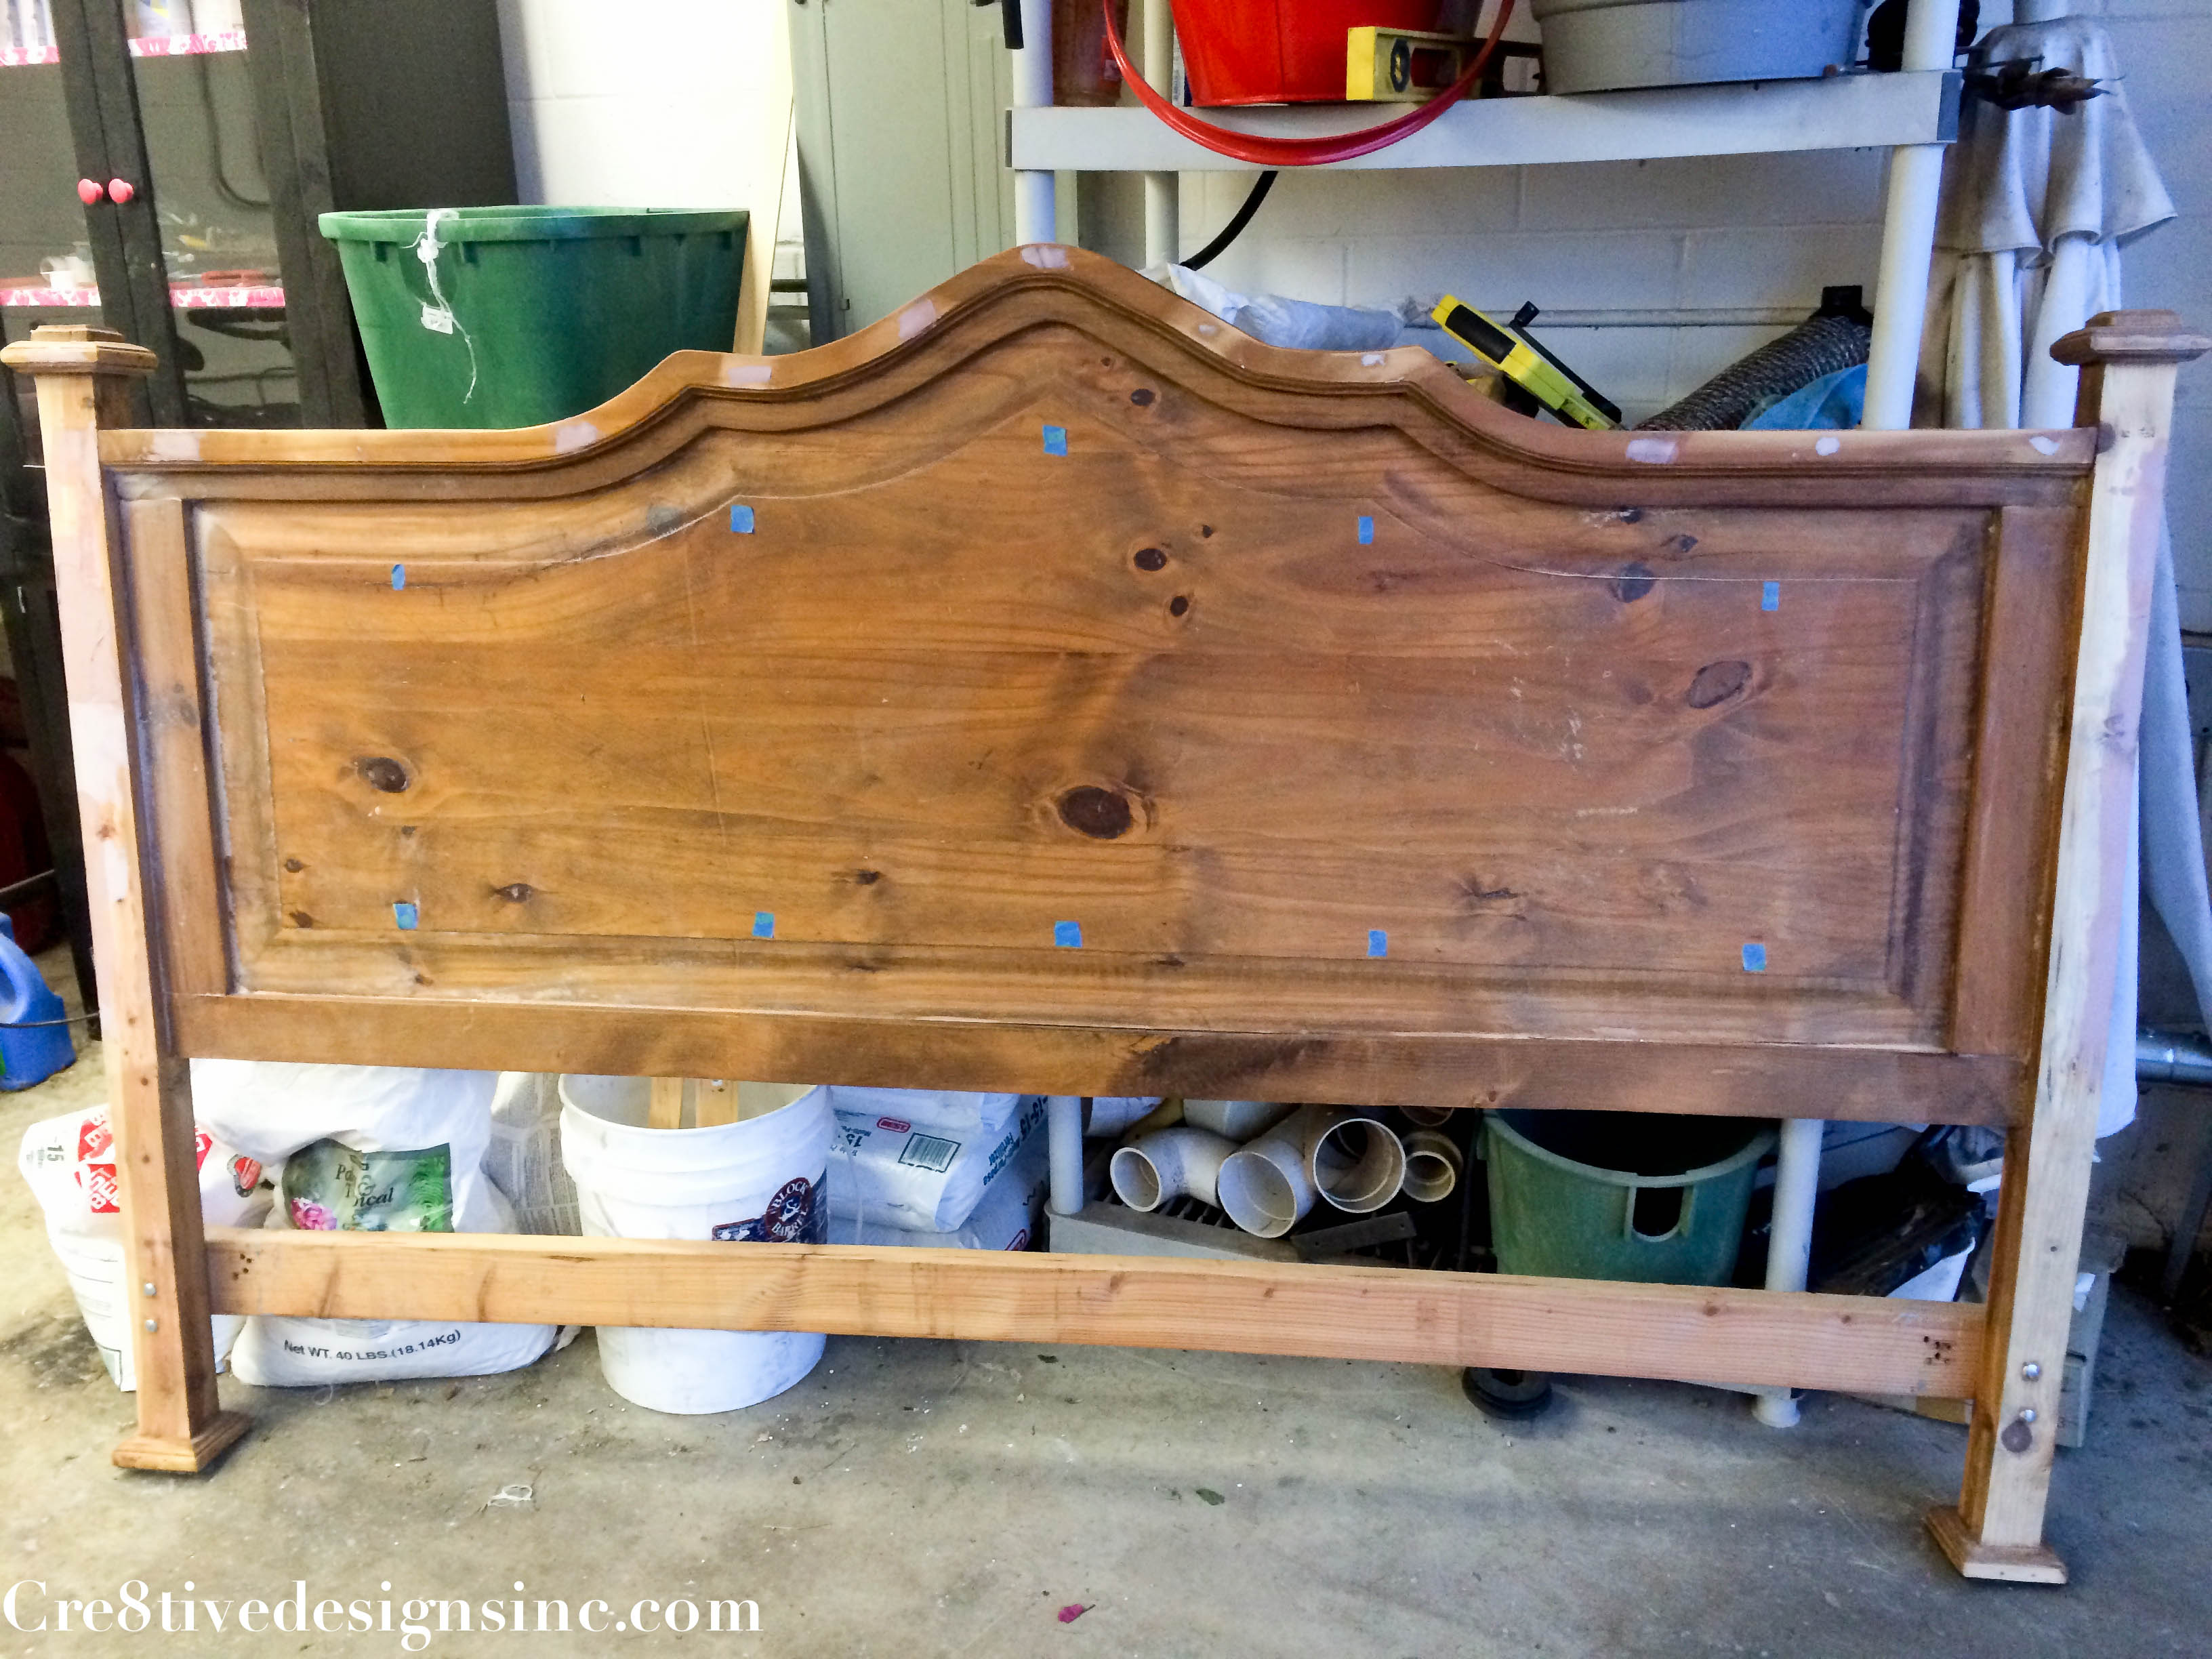
Why I did this I don’t know. I thought it would give me a smooth surface which I could stain over. Um, no. You can’t stain over bondo, it is made to be painted over. Since Lindsay LOVES white, I thought instead of keeping the stain color, why not paint it white?

Mistake. White shows everything. Once I got the white paint on, it highlighted all the imperfections in the wood and it wasn’t pretty. So I sanded the whole headboard back to it’s original wood and re-stained it. Yes, I like to create a lot of work for myself. It just wouldn’t be the same if I did things right the first time.
But then I still had the issue of the bondo on the posts not accepting stain. I thought some type of glue on wood veneer would work, so I went to HomeDepot. They didn’t have any wood veneer tape wide enough for the posts, but I found some luan boards in the scrap bin that had the same grain as the headboard. And since they were such small scraps they gave them to me for free! I brought them home and had my husband cut them to fit the posts. I stained the luan boards and then glued them on to the front of the posts {with a lot of clamps as you can see lol}

It worked like a charm. Problem solved. Now it was time for the fun part of making this headboard look pretty.
First I added the foam with spray adhesive. You might have noticed from the original pictures that the headboard insert area had a raised panel. I needed the thickness of the foam to be the same across the whole area for tufting. So to even it up, I just doubled up the foam on the sides. Then I laid batting over the foam. No need to glue this stuff on, it clings on to the foam by itself.

Then I the figured out the spacing of the tufts. Some people go all out and mark each tuft on the headboard, I don’t. Not that this is the right way, it is just my way. I picked a spot on the top where I thought the first tuft should be. Then I randomly decided the spacing based on eyeing it and pushing down the foam to see how it would look, yes very professional I know. I always measure from the center of the tuft to the center of the next tuft. The center of the tuft is where the button is going to go. Once I got the two vertical tufts marked, {9″} I made a mark of the center {half of 9″} and then measured out 4″ horizontally to mark the 8″ horizontal tufts. Once I had these 4 tufts done, all I had to from there on, was measure 9″ up and 8″ across, each time I stapled my tufts. It’s pretty simple once you get the hang of your spacing.

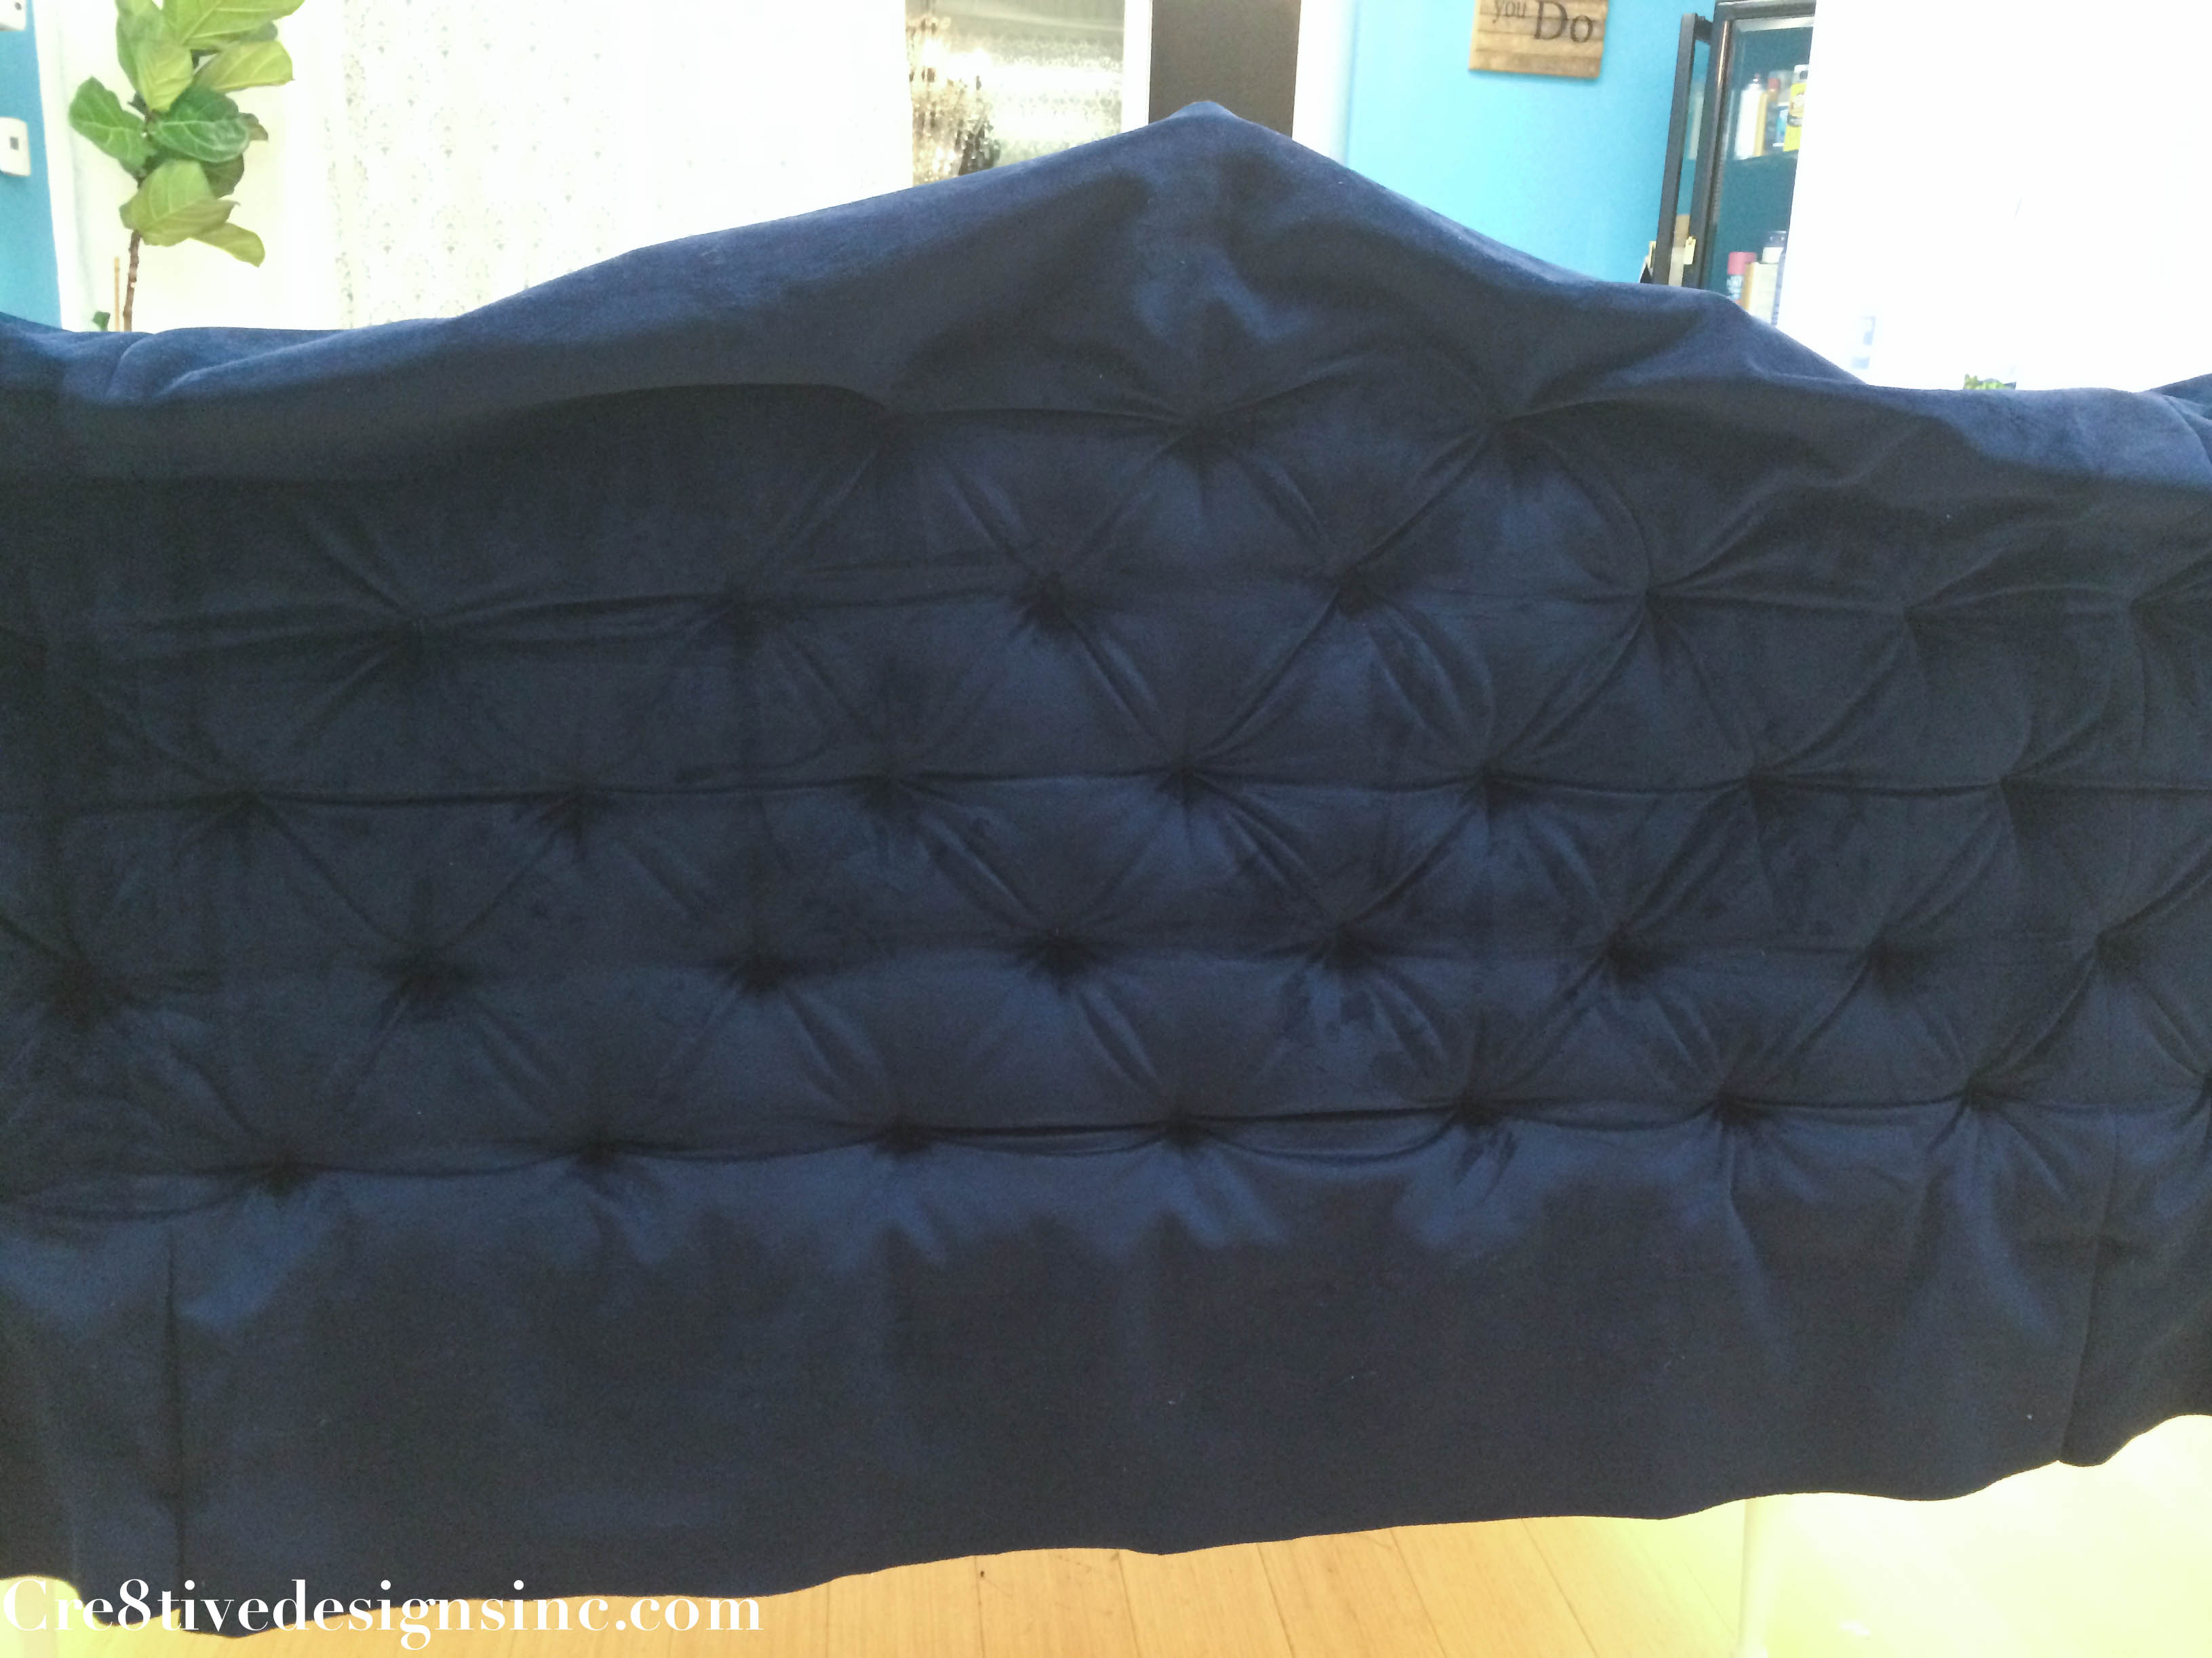
Lindsay chose an Indigo Ink performance fabric from WestElm for her headboard. Did you know that West Elm sells their fabrics by the yard? Me neither. I used 2 yards of fabric. The width of one yard was not wide enough to go across the whole headboard, so I cut the second yard in half and sewed a panel to each side of the fabric. I used the same method as I did for this headboard that I made for my daughter. It’s the cheating method of stapling down the tufts, and it works perfect for headboards. I did the whole first row of tufting, skipped the next row, and tufted that row.
It ends up looking like square tufting at this point

Once I got those rows completed, I went back and did the rows I skipped, and that is how you get the diamond pattern.
I made this mock up so that you can get a visual of how I did the rows. You do the rows of blue dots first, then go back and do the yellow dots.

Once all the tufting was done, I stapled the fabric to the inside of the curvy frame and then trimmed the excess fabric with a razor blade. Here is a picture of when I had most of the fabric stapled and trimmed.

I made some double welting on my sewing machine using a zipper foot. I glued it on around the whole inside of the headboard to cover the raw edges. Then came the hardest part…the buttons. I got a couple done and thought “Oh my gosh, there are 36 buttons to be covered!”

It was daunting task and I kept putting it off. Then on a whim, I decided to ask my upholsterer how much he would charge to make 36 buttons and he said 25 cents each. Um, yeah, I didn’t have to think twice about having them do the buttons for me. Once I had all the buttons back from the upholsterer {it took them 30 minutes to do all those buttons, crazy good!} I carefully hot glued them inside all the tufts. I say carefully because if you get hot glue on velvet type fabric it doesn’t come off. Trust me, I found out the hard way.

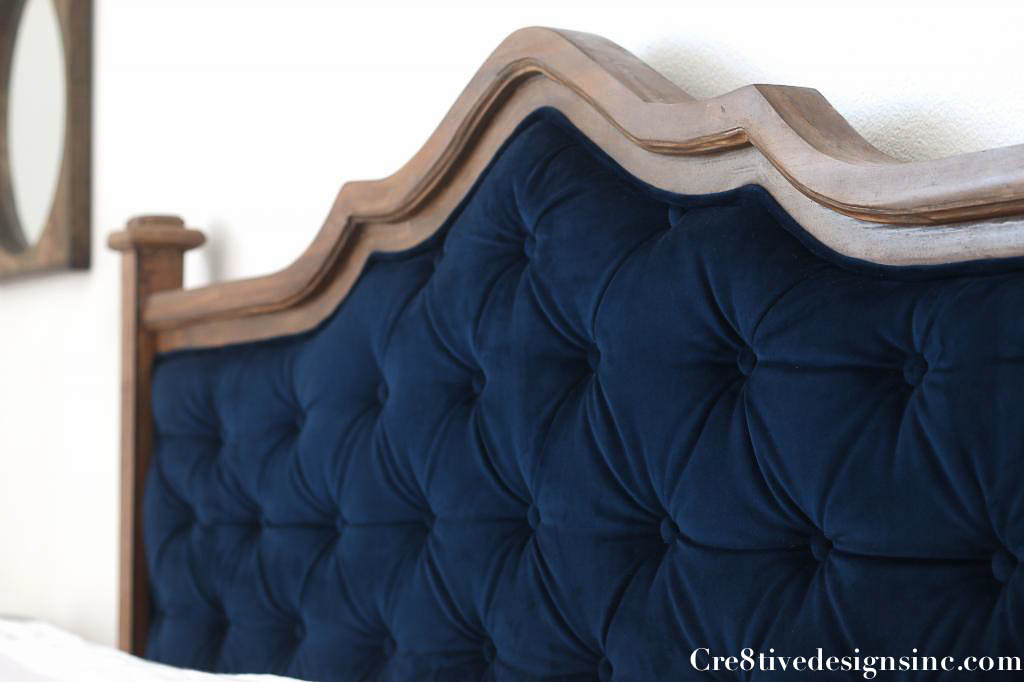
And here is a better picture of the tufted headboard in her room from Lindsay’s blog
This headboard had a lot of journeys to get it to this point, but I know that Lindsay and Ian appreciate every bit of my hard work. Lindsay says she thinks of me every night before she goes to bed…awe how sweet is that?
I love looking at side by side before & after pictures, so I’ll leave you with this


You are just the best! Ian and I love our headboard so so much! It turned out so beautiful!
I love the shade of blue you chose and the tufting turned out fabulous! Great before and after! Love it
stephanie! the tufting is beautiful! I still want to do this to a bench… someday maybe. 🙂
loving the fabric, but honestly I would have preferred it white. But that’s just me. Lindsay is a lucky lady to have you in the family!
gail
just beautiful! I can’t believe you painted it and then sanded it back! Oh man, but it was worth it in the end 🙂
You had me at the deep blue fabric! I’m inspired to try my hand at dig upholstered headboard.
*diy headboard. Grr autocorrect.
This is amazing! Did you staple the tufts to the headboard with a staple gun before gluing the buttons? I’ve never heard of that but makes total sense. Just wanted to make sure before I try this. Thanks!
Yes, I just staple the tufts with my electric staple gun right into the headboard, and then glue the buttons on. You can use a regular staple gun, just takes a little more muscle 🙂 I’ve done this method over and over again on different projects that require tufting, and it holds up perfectly. And way easier 🙂
GORGEOUS! I think I’m going to start this project because I can’t find the style and color headboard i want. I’ve never done this kind of project before so my only questions are: 1) you just draped the velvet over the batting headboard and started going to town with the staple gun? 2) you just put a staple down where the tuft goes (under the button)?
Thank you!
Please disregard the staple question – I was too excited to read the above comments :/
No problem Jessica! If you do end up doing one yourself, shoot me a picture I’d love to see it!
Beautiful work! How thick is the foam you used?
I think it was a one inch foam.
Beautiful! I love it. Thank you for sharing!
I am thinking of doing something similar but I don’t want the tufted look. Any tips or advice?
I think the most important thing to make sure you do if you are not tufting is making sure the fabric is very tight on the foam. This is what I would do. After you get your foam on the headboard, I would place my fabric on the headboard and put a couple of staples in the fabric at the top. Then I would spray some glue on the foam and/or the fabric and pull the fabric tight to the bottom and put a couple of staples to hold the fabric. Then do the same thing on the two sides. It will keep your fabric from slipping and sagging while you put the rest of the staples in. Don’t forget to pull the fabric tight all around as you put the rest of the staples in. Good luck!
How did you get the fabric to look okay on the edges since you weren’t wrapping it to the back of the headboard? Did you staple it on the edges and then cover that up with the fabric trim?
To hide the raw edges I used double welting. I just glued the welting on to the headboard, with a couple of staples here and there for good measure.
Stephanie, When I look at the picture, I see single welting. I think double welting is two covered cords with staples applied in the middle of the two cords (the cords are one piece, not separate). You don’t see it very often. Anyway, I could be blind and not seeing the double welting! I’ve been looking for a headboard like this one (the BEFORE) to upholster with linen. I love the wood trim like this. I fell in love with Pottery Barns’ Gabriella headboard but could not afford it. I plan to tuft like PB’s headboard using decorative knot-tied cord instead of buttons. I finally found a headboard on Craigslist for $25 with the right curves, but no wood trim. I will do the knot-ties and it’ll look great. Your headboard rocked! And, it was a real gift of love.
Thanks Kathy! I did use double but some areas I squished it in more than others. I like using double welting for the ease of stapling it in the headboard, and it hides a lot of oops 🙂
This is great!!!!
Thank you Kelly!
Honestly of all the headboard redos,diys,etc this is by far my favorite I love the shape and cut, totally agree with the masculinity aspect and I love how you went with the stain instead of the ‘pinterest generic’ white headboard, it looks rich and amazing with the blue velvet. Great job!
Thank you Emma! My niece is still using it in her masterbedroom, and that just melts my heart.
Great project! What color stain did you use for the wood?
I believe it was minwax american walnut.
I have thought about doing this with my head board! I never knew I could staple the tufts and just hot glue the buttons on, Genius! I’ve tufted before the old fashions way, not easy!
Thank you Kathleen. This method holds up perfectly, and it saves time.
Ha!! This is so me – “Yes, I like to create a lot of work for myself. It just wouldn’t be the same if I did things right the first time.”
Thanks for the tutorial 🙂