Interior designer with a flare for DIY


Hi my name is Stephanie! I am an interior designer, a wife and a mother to three grown girls. My husband and I live in our dream home in San Diego. My passion is to decorate & design and you will usually find me knee-deep in do-it-yourself projects for myself, friends and family. Thanks for joining me in my on going adventures of design! Feel free to contact me at cre8tivedesignsinc@gmail.com

Recent Pins


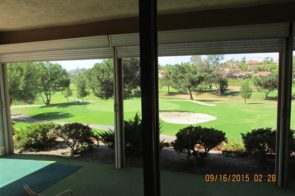
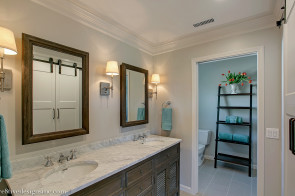
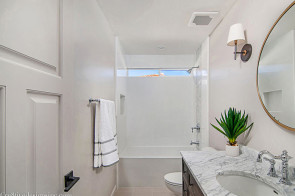
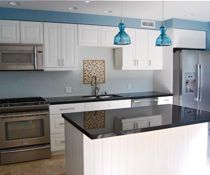
House Renovation on a Budget
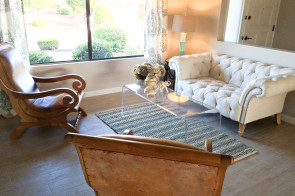

Total House Renovation on a Budget
Popular Posts